


Hello, welcome again to my series on Automated Testing in C#. In the last article, I gave an overview of the concept of automated testing in C# (which can also apply to other programming languages). In this article, I would be going a little bit deeper into the world of testing with UnitTests.
So, what are UnitTests?
UnitTests are automated tests written to test individual components of a software/code. A Unit, in this case, might mean a method or a class without its external components such as databases, files, etc. This means that we get to test the small components of our code to verify its efficiency without the need to launch the entire software or use its dependencies.
UnitTest is an important part of the automated testing process as it gives a clearer insight into the workings of the methods and assurance of their efficiency. Most programming languages have at least one automated testing framework being used. In C#, there are 3 major Frameworks used for testing, which are:
- NUnit
- MsTest
- XUnit.NET
In this article, I would be using NUnit as my testing Framework because of its speed and ease of use. Further articles would give a full comparison between these 3 frameworks but an overview of these frameworks:
MsTest This is Microsoft's inbuilt testing framework, it's available directly in Visual Studio without the need to download external tools to make it work. Compared to its counterparts(NUnit and XUnit.NET), it isn't as fast in execution.
NUnit Unlike MsTest, NUnit isn't available when you download Visual Studio but getting it installed and setup is a very easy task, which I'll explain shortly. It is a much faster Framework compared to MsTest.
XUnit.NET Similar to NUnit, it is a third-party testing framework that is also fast and has a lot of cool benefits to it.
The differences in these frameworks haven't been the same in the past few years as they've each gotten better at their individual game, but for now, we'd stick with NUnit.
Now, let's get started with NUnit.

Installing NUnit
There are two ways to install NUnit, depending on your preference
- Installing for that Solution alone
- Installing for the entire Visual Studio
Installing For A Particular Solution:
When installing for a particular solution, the following steps would be of use:
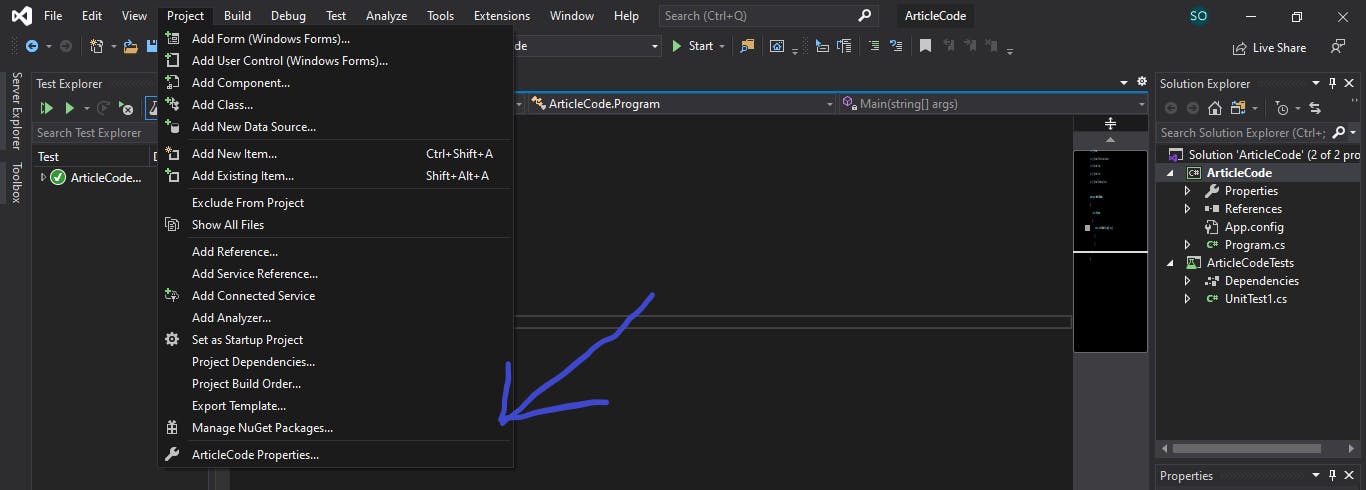
Step One: Open the project of your choice and click on the project option on the top menu as shown in the image below.

Step Two: Click on the "Manage NuGet Packages" option from the menu.
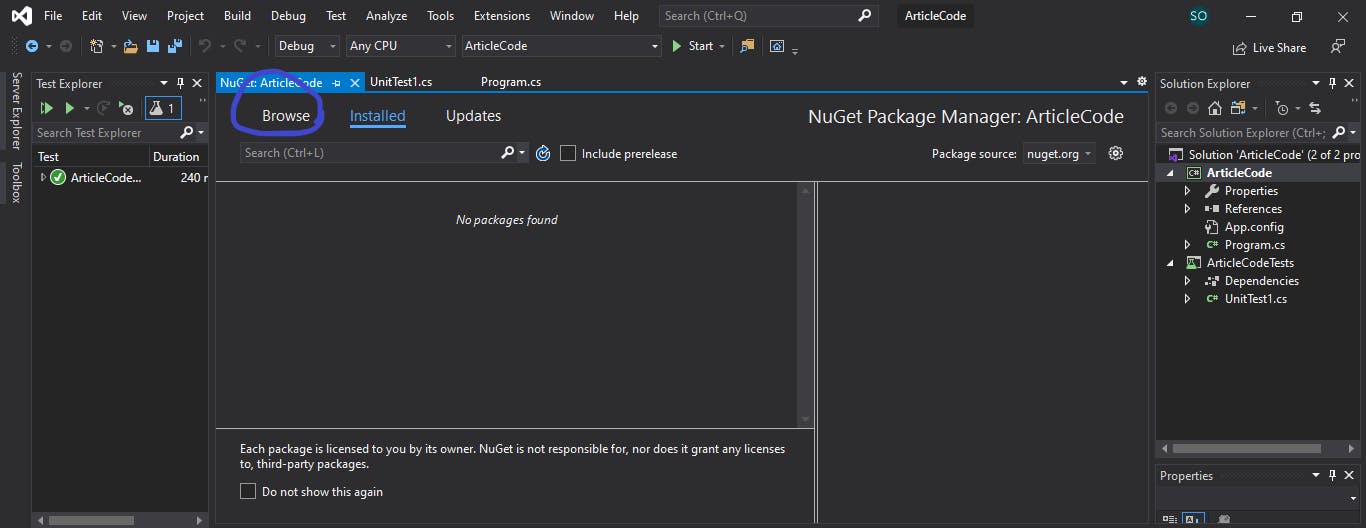
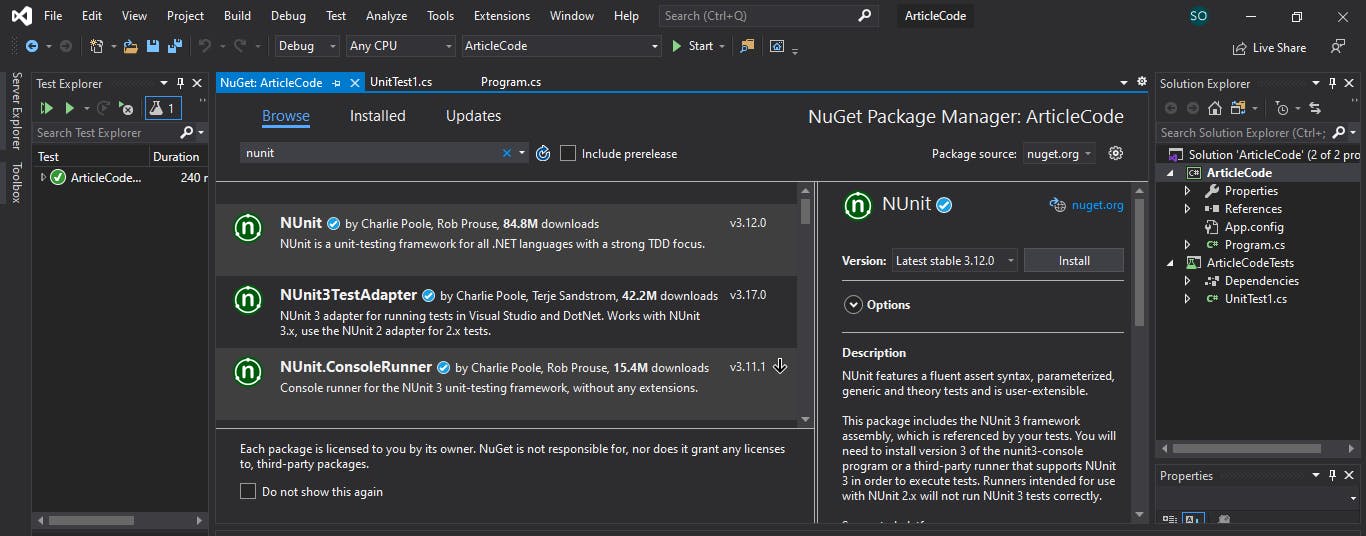
Step Three: On the page that pops up, click on the browse tab on the left and input NUnit into the search bar as shown, click on install for both NUnit and NUnit Adapter and you're good to go.
Installing for the Entire Visual Studio
You might decide to install NUnit for your entire visual studio and not a particular solution, the following steps would help you install it easier in Visual Studio 2019
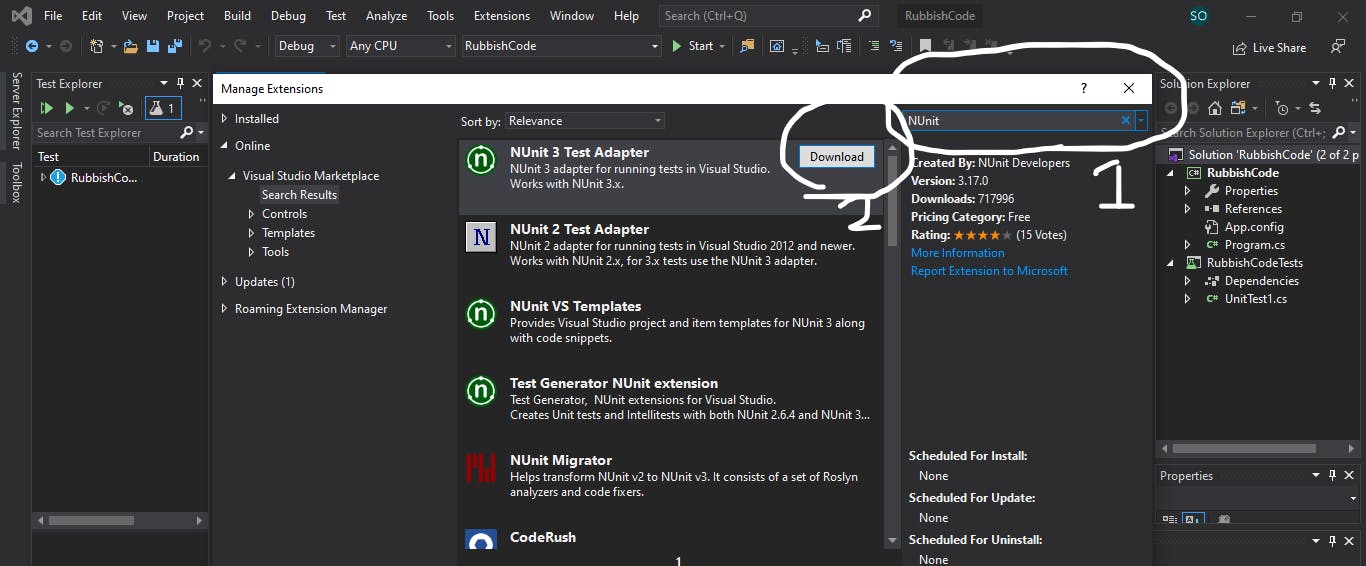
Step One: Click on the "Extensions" tab in the options menu and select "Manage Extensions"

Step Two: Search for NUnit as shown in the image below and download the NUnit Adapter as shown below, follow the installation instructions. You might have to restart Visual Studio for that to happen.
Writing Your First UnitTest with NUnit
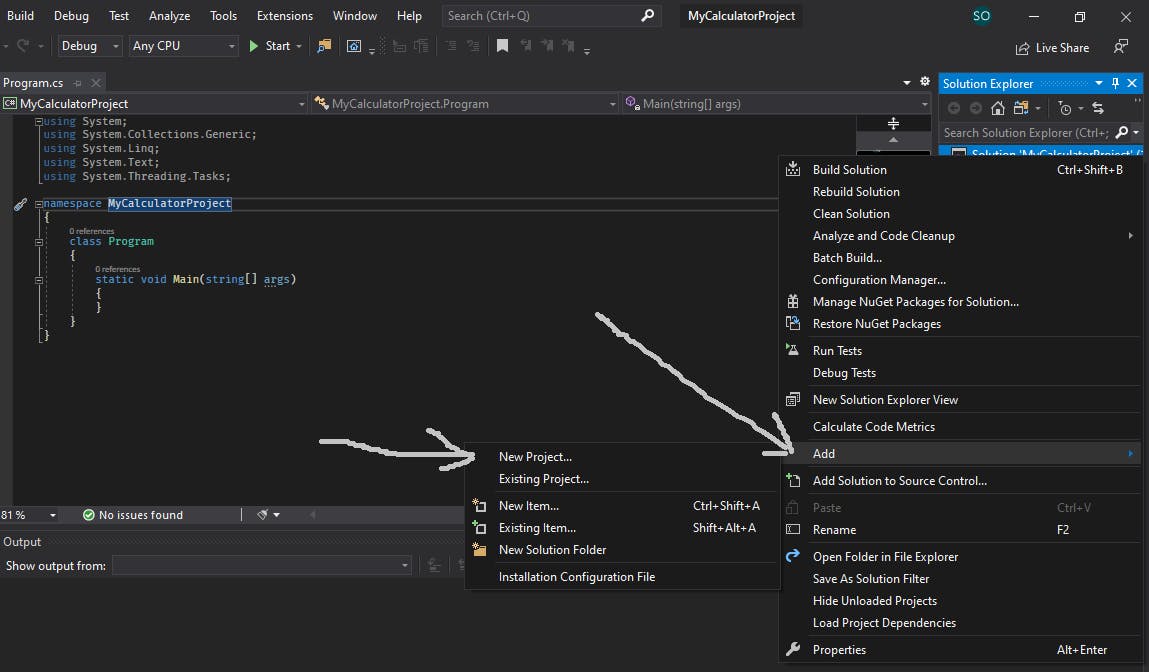
All right, now that we've gotten our NUnit setup, and we may or may not have our code written (depending on your programming approach, TDD or Code First). we can add a UnitTest project to our existing project to help test the individual units of our code. To add a UnitTest project, you right-click on the Solutions project on the Solutions Explorer usually found on the right side of your screen. Click on Add, and select add project.
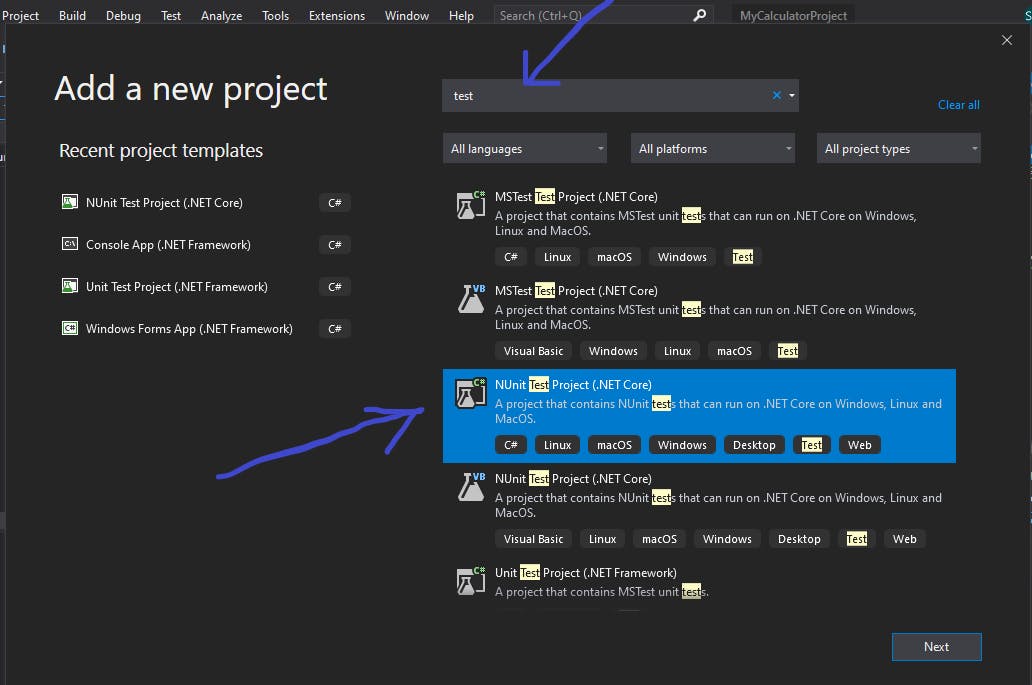
In the Search Bar, type tests for a full list of available test frameworks on Visual Studio.
Select NUnit Test.
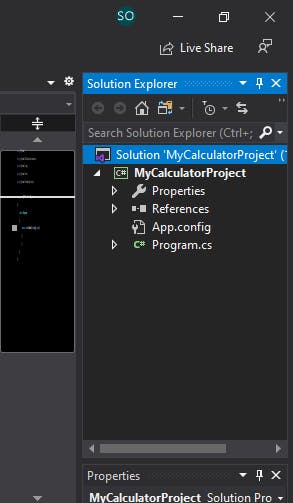
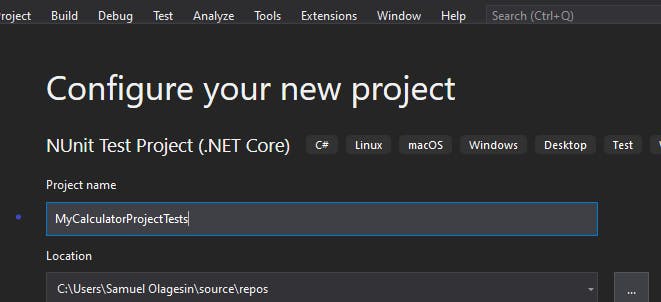
When naming a test project, it is usually advisable to name it after the solution and add the suffix Tests. An example is shown below, the main solution is named MyCalculatorProject, the test project is named MyCalcultorProjectTests by naming conventions. Click create.
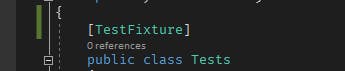
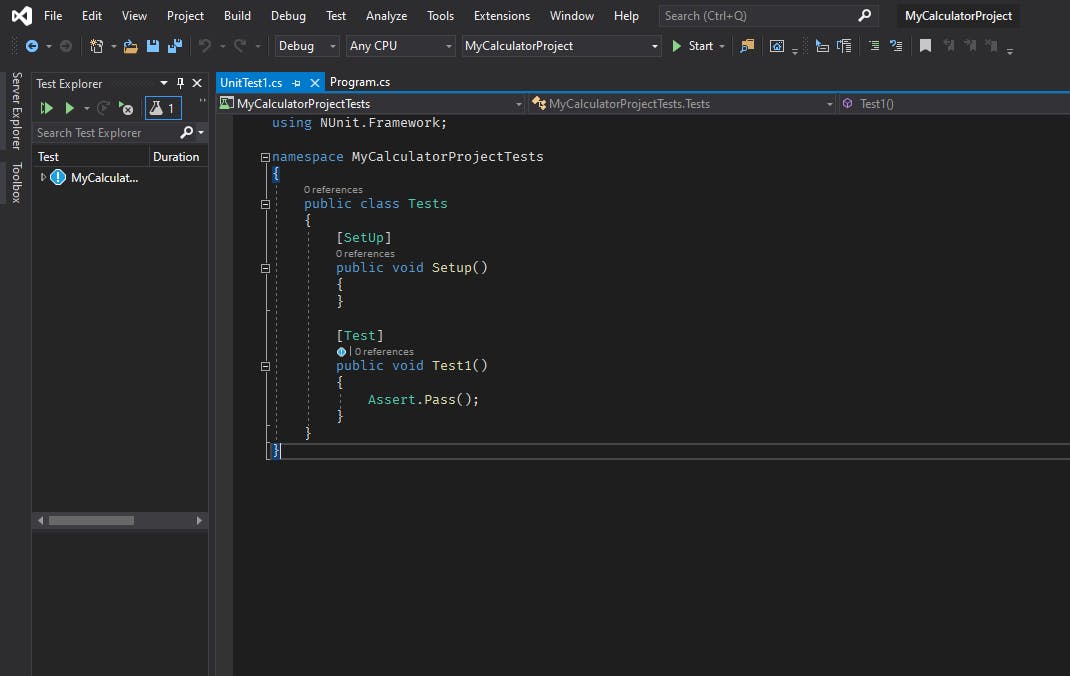
The loaded project shows two Methods, Setup, and Test1 methods.
First, add the attribute TestFixtures above the class name.
The Setup method gets called before all other test methods are called, so it can be used when initializing values to be reused in the test projects. The Test1 method would be the method for writing our first test for our projects.
It is also advisable to rename the UnitTest1.cs file in the Solution Explorer to the class name with the suffix Tests as this will help differentiate the class tests if you have many classes to test. In this case, our class would be named AritmeticCalculationsTest.cs
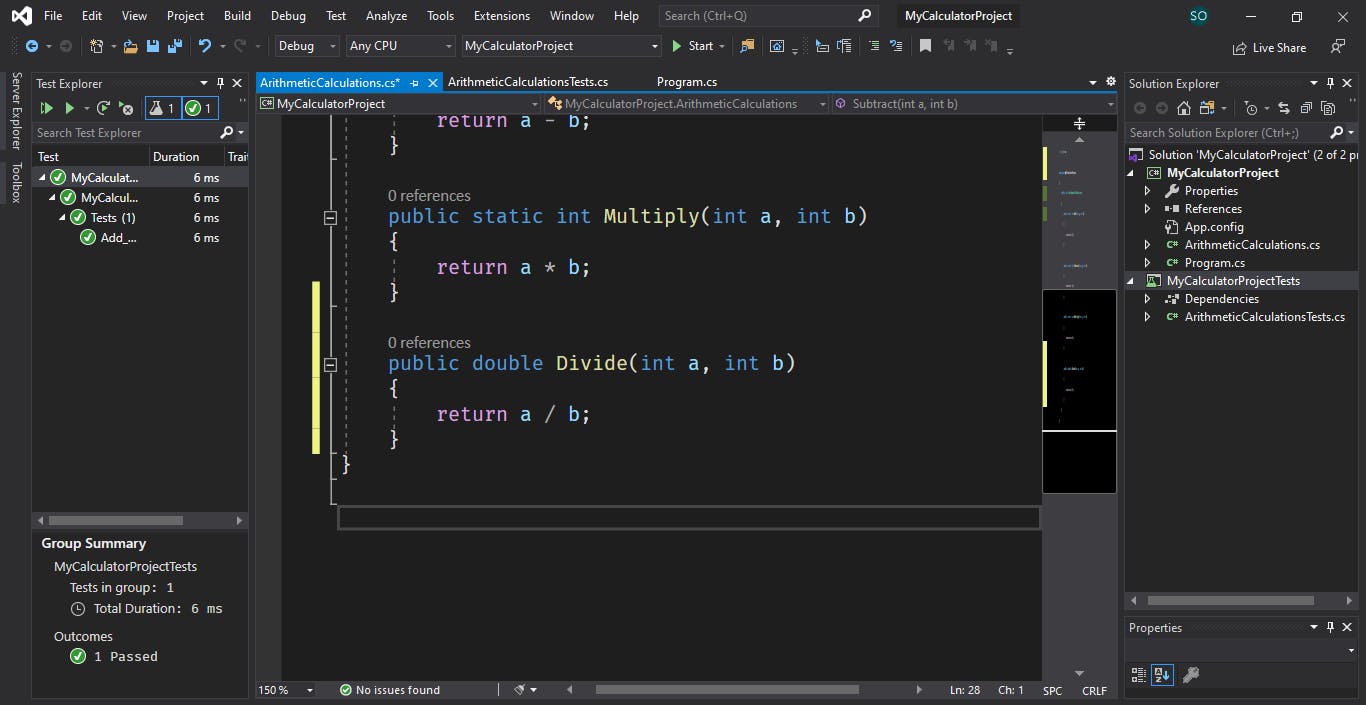
Let's take a look at the class we want to test, here's a small Arithmetic Calculation class containing methods that return the sum, difference, division, or product of two given numbers:
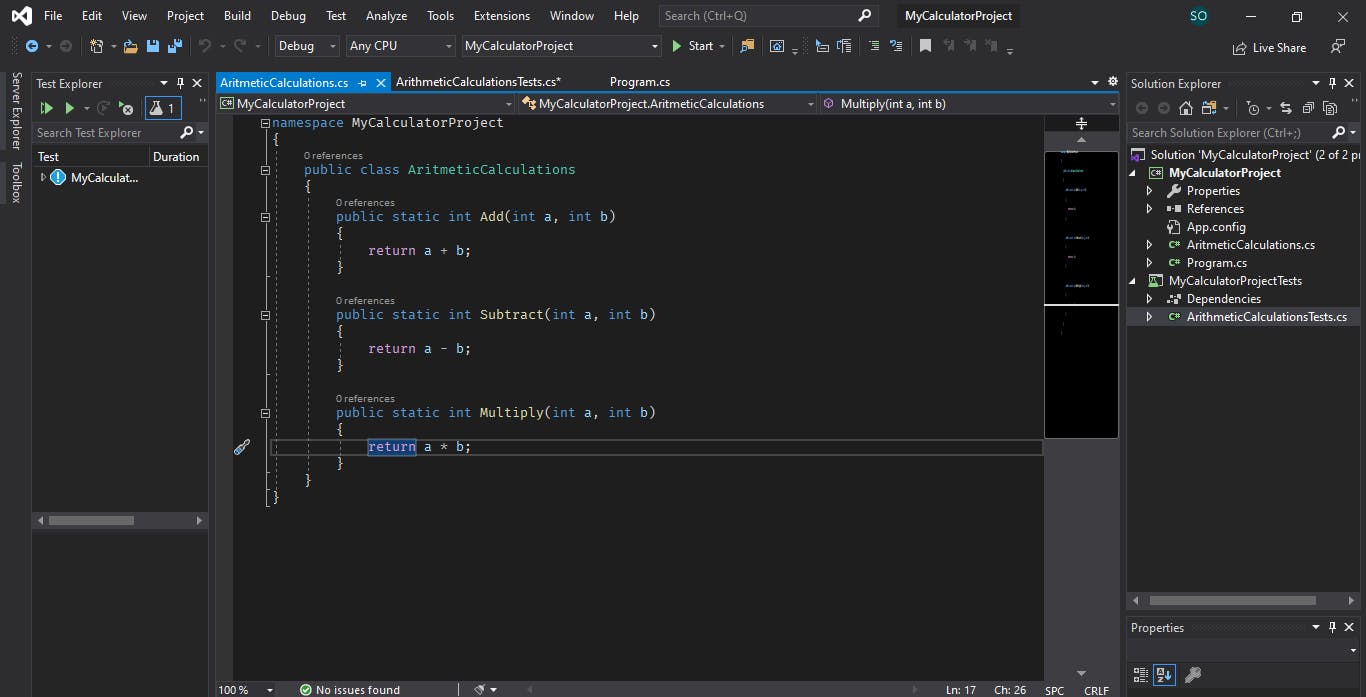
We would be starting out with these methods for testing to ensure that they are working well Back to our test project, our first test method would be to test the Add Method, there's also a naming convention for naming test methods. For every method to be tested, we name our test in the manner:
"public void MethodName_Scenario_ExpectedOutput"
In this case, our method name would be:
public void Add_BothNumbersAreIntegers_ReturnSumOfNumbers()
First, we need to add a reference to our main project by right-clicking on our test project, click on add, select add reference, and tick the checkbox to the project you wish to add. We could also do with the using statement, i.e:
using MyCalculatorProject;
Writing unit tests can be divided into 3 steps commonly known as Arrange, Act, and Assert(AAA).
When Arranging, we are setting up our code for testing, it usually comprises initializing classes or creating objects of classes. Acting is done when you call the method to be tested and sometimes storing the value in another variable. Asserting is the last part, which is usually done to verify if our expected value corresponds with the value we got.
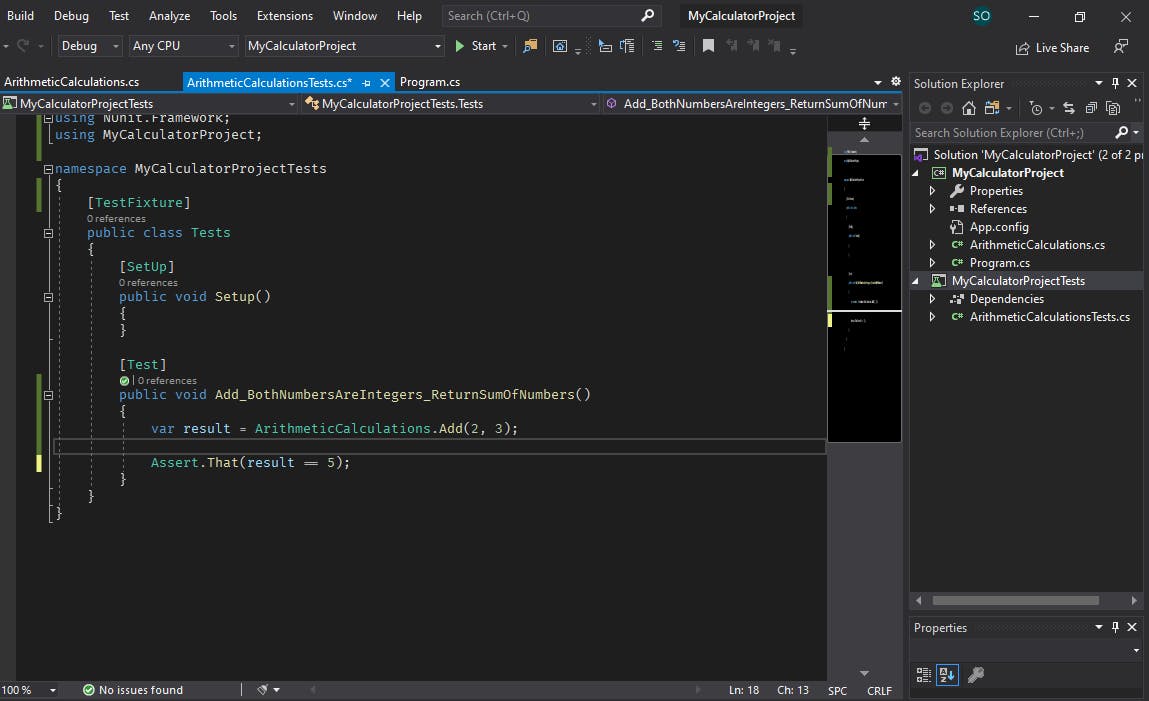
Now, we need to test if our method returns the actual sum of two integers when called, to do that we call our Add method and pass in two values, storing the answer in a variable called result.
var result = ArithmeticCalculations.Add(2, 3);
The above step covers both Arrange and Assert as the methods have been declared as static, else, we would have to create an object of ArithmeticCalculations before calling the method.
Next is to assert if our method works correctly. The Assert class has a lot of methods which can be used to verify the validity of our methods, for example, we can have any of the following forms of asserting our methods:
Assert.AreEqual(result, 5);
Assert.That(result == 5);
Assert.That(result, Is.EqualTo(5));
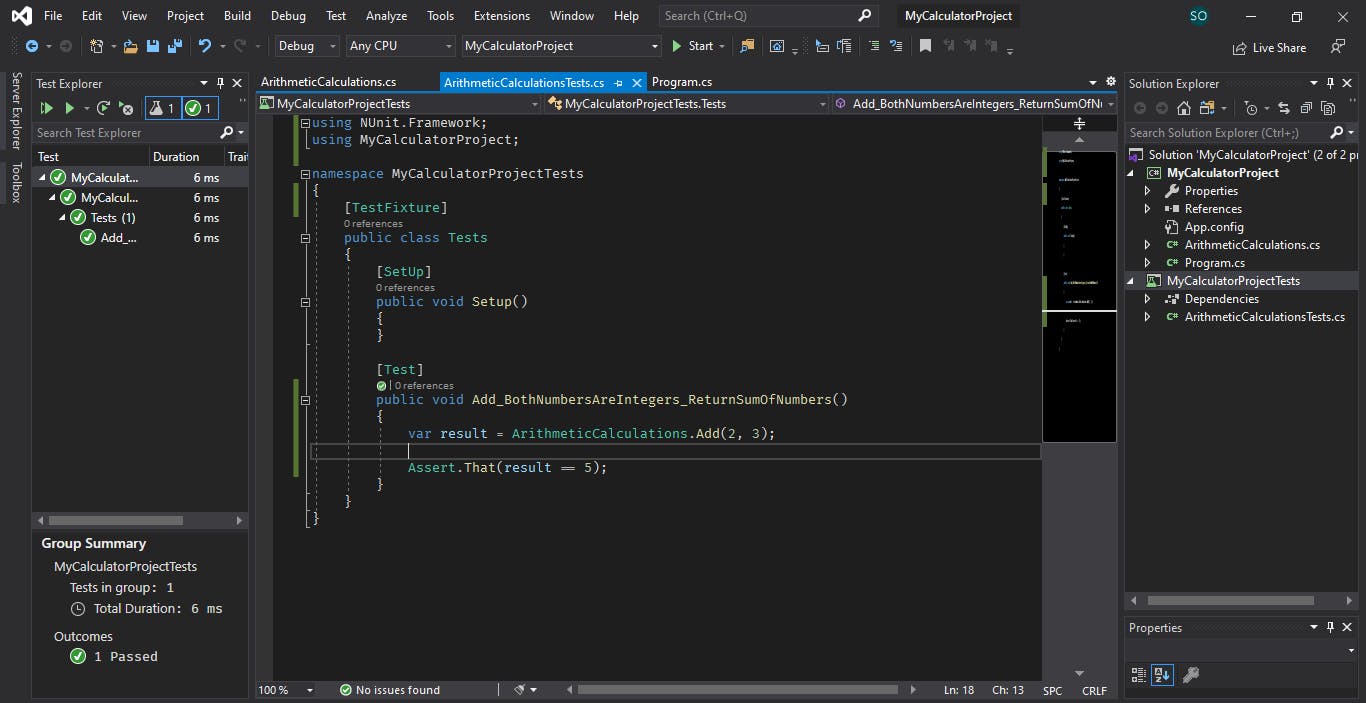
So, we have something like this
To run our tests, we can right-click and select run tests, or we click on the Run Test button found in our Test Explorer found on the left side of the screen. If there's no test explorer on your screen, you can access it by clicking on the test option in the menu above, then selecting Test Explorer. When we run our tests, we notice our test explorer changes to a time symbol, then to either a green tick or a red cross, depending on if our tests passed or failed respectively. You can expand the Test Hierarchy to view more details on the test.
All right, that's it, we've been able to test our method. you can try out the other methods and test them, Github link would be made available.
Testing For Methods that Throw an Exception
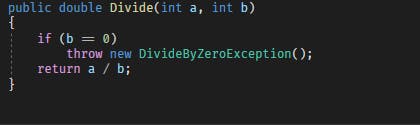
Now, let's try testing our Divide method
From the image above, we can notice that our method doesn't put into account what happens if we divide by 0. Let's assume we overlooked that and we had to test this, our test would fail. To adjust this, we can decide to throw a DivideByZero exception and test our method for that. let's see that.
This brings us to two things, Testing methods that throw exceptions, and testing for multiple parameters on the same methods(parameterized testing). First, create a new test method and name it according to the test scenario. Always remember to put the [test] attribute to the top of every method test. To test for exceptions, we make use of lambda expressions to pass our method call into the Assert class and check for the exception being thrown.
for example, we can have
Assert.That(lambdaExpression, Throws."type of Exception");
or
Assert.That(lambdaExpression, Throws.Exception.TypeOf< TypeOfException >());
The latter is being used when the exception isn't directly made available in the Throws helper class. In this case, our test method would be:
Assert.That(()=>calculations.Divide(12,0),Throws.Exception.TypeOf<DivideByZeroException>());
Putting that into our test method, we have:

Run the test and see it passes.
Parameterized Testing
The other thing to mention is when we try to test for multiple values. For example, we shouldn't be writing different tests for when we have 0/3 and when we have 12/3. We can combine them both into what is called a Parameterized Test.
To do this, we add the Testcase attribute and input the parameters we wish to have.
[TestCase(0, 12, 0)]
[TestCase(12, 3, 4)]
Next, we pass arguments into the test method for ease of use. These arguments would be used in the Acting and Assertion of the test method.
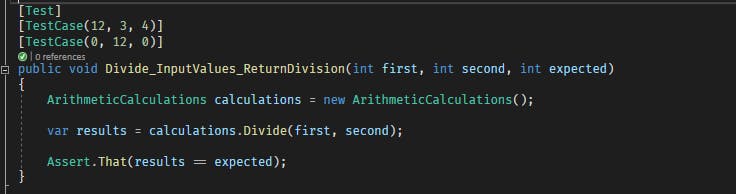
When we run this test, it also passes.
Unit testing is a great way to test the functionality of methods and classes in our code, we can also test for strings, arrays, and other collections. But there are some rules to be followed when doing unit testing.
UnitTesting Rules
- No logic in the test methods(i.e no conditional statements or for loops)
- Each test method should test only what it wants to except it can be parameterized.
- Each test should be simple and precise.
These rules and more govern the use of unit testing in C#.
All right, that's all for this part on Automation Testing in C#, next part, we'll continue with testing Arrays, collections, void methods too. Thank you for sticking till the end, see you next time.
Links:
Unit Testing and Arrange, Act, Assert: medium.com/@pjbgf/title-testing-code-ocd-an..
GitHub Repo for Source Code: github.com/feyiiOlagesin/ArticleSourceCodes